How to configure your business email on Gmail

You can connect your business Email to the Gmail app using the following steps: 


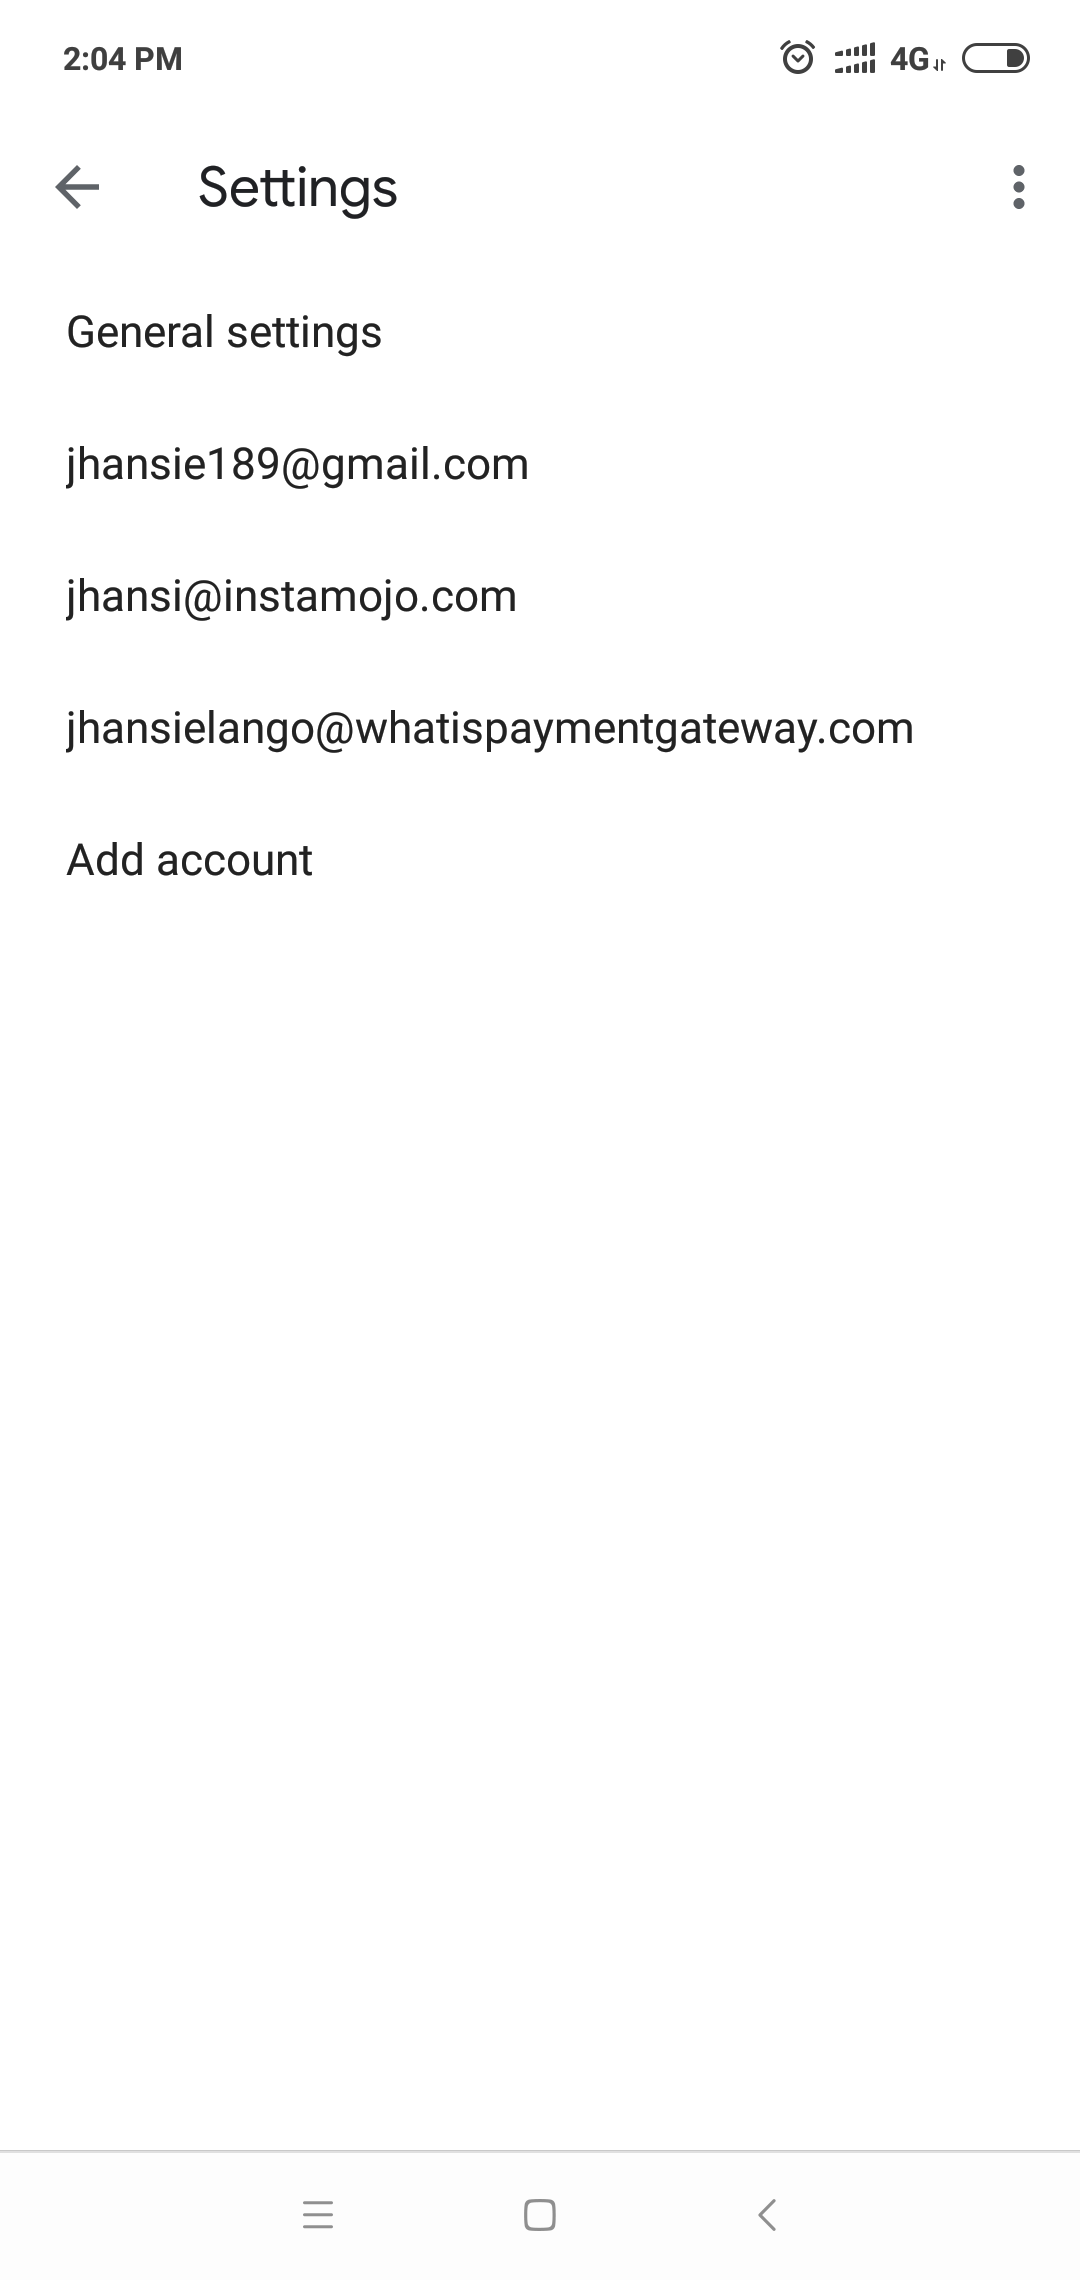
1) Click on the 'Add account' option in the bottom. 

Screenshot_2019-03-12-14-01-04-270_com.google.android.gm.png

2) Pick the last option-  'Other'

Screenshot_2019-03-12-14-01-10-181_com.google.android.gm.png

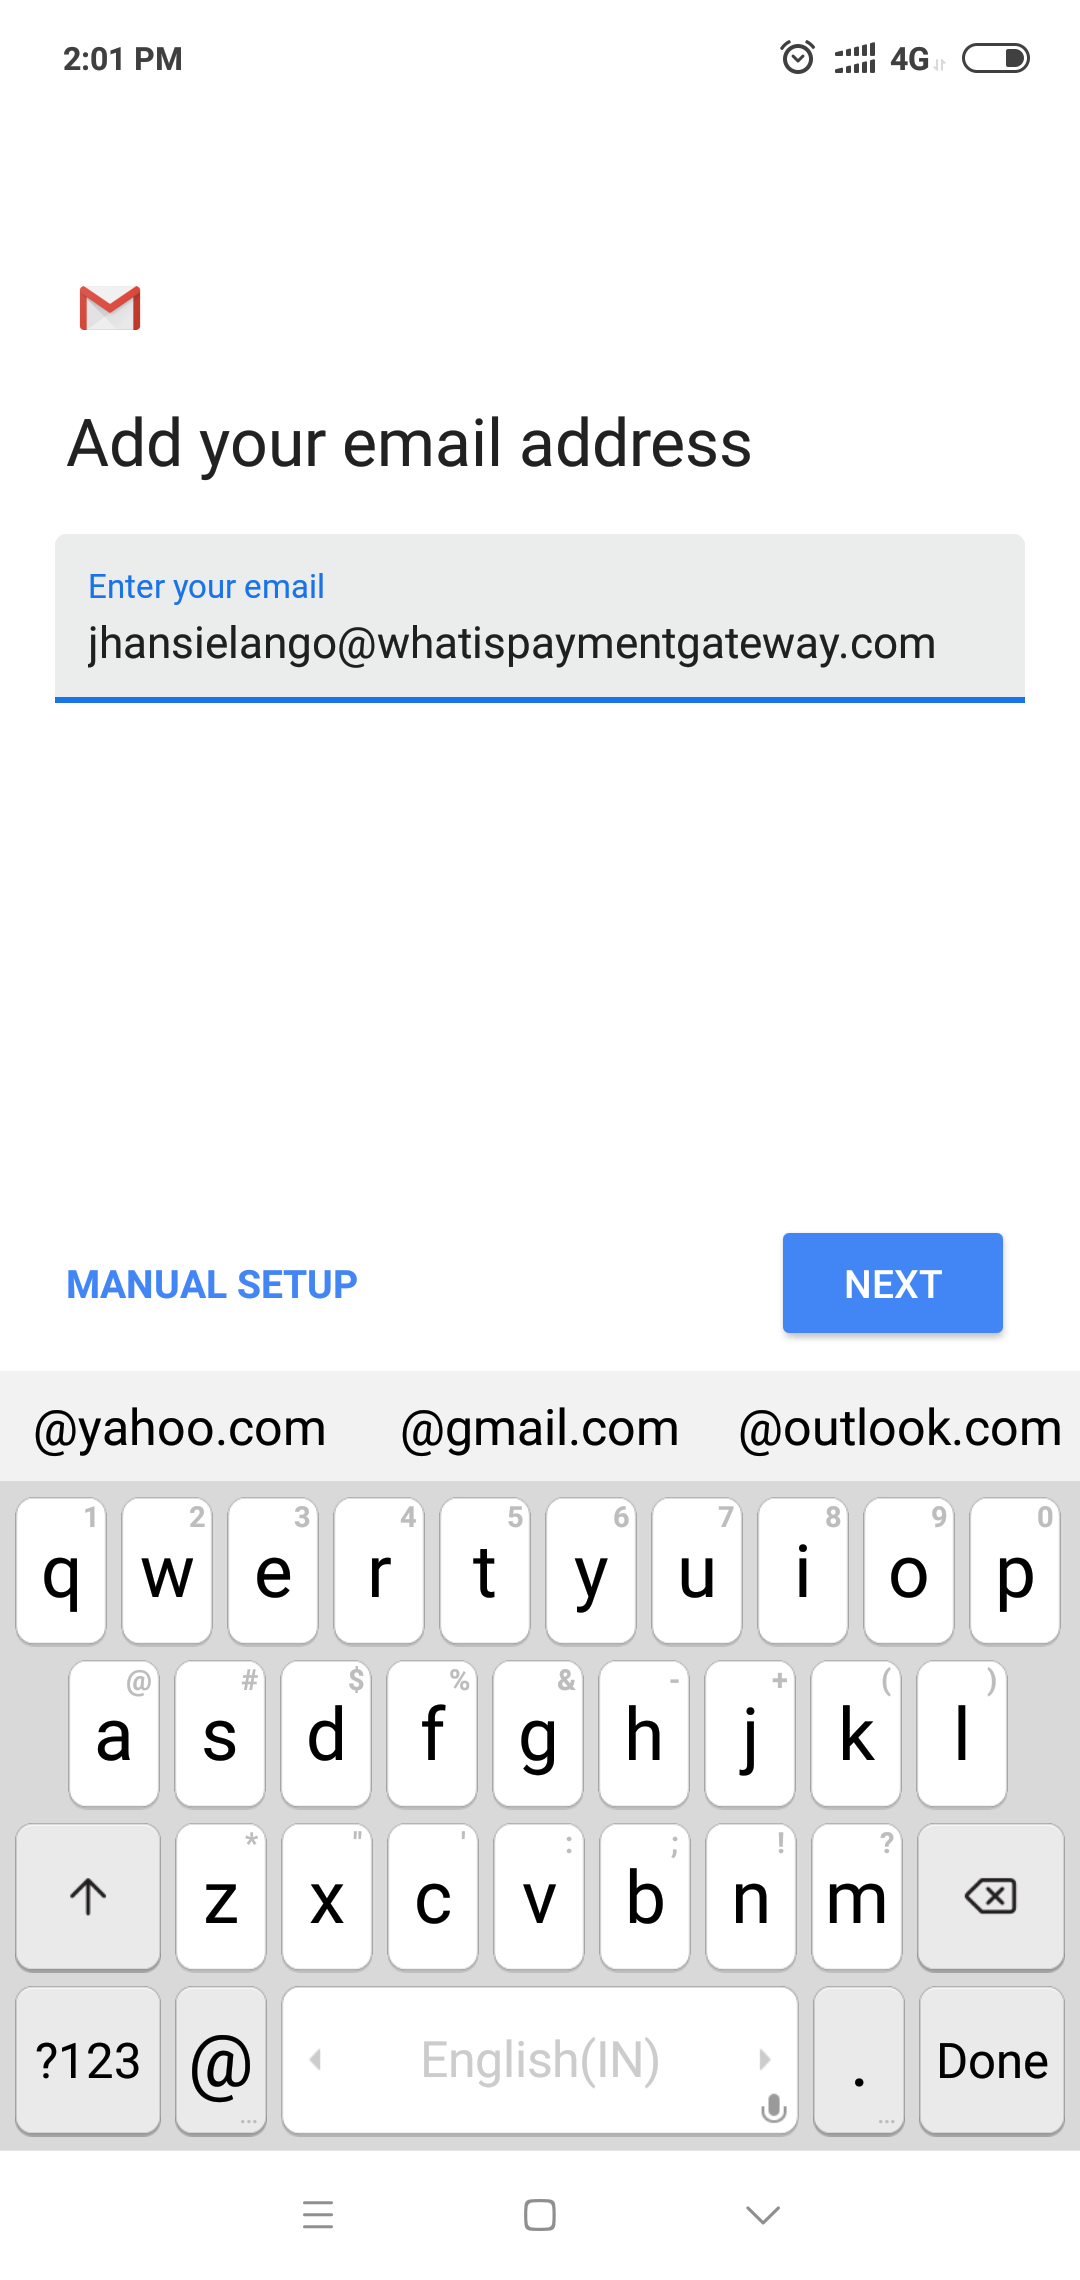
3) Pick 'Manual Setup' from the bottom left corner. 


Screenshot_2019-03-12-14-01-32-731_com.google.android.gm.png

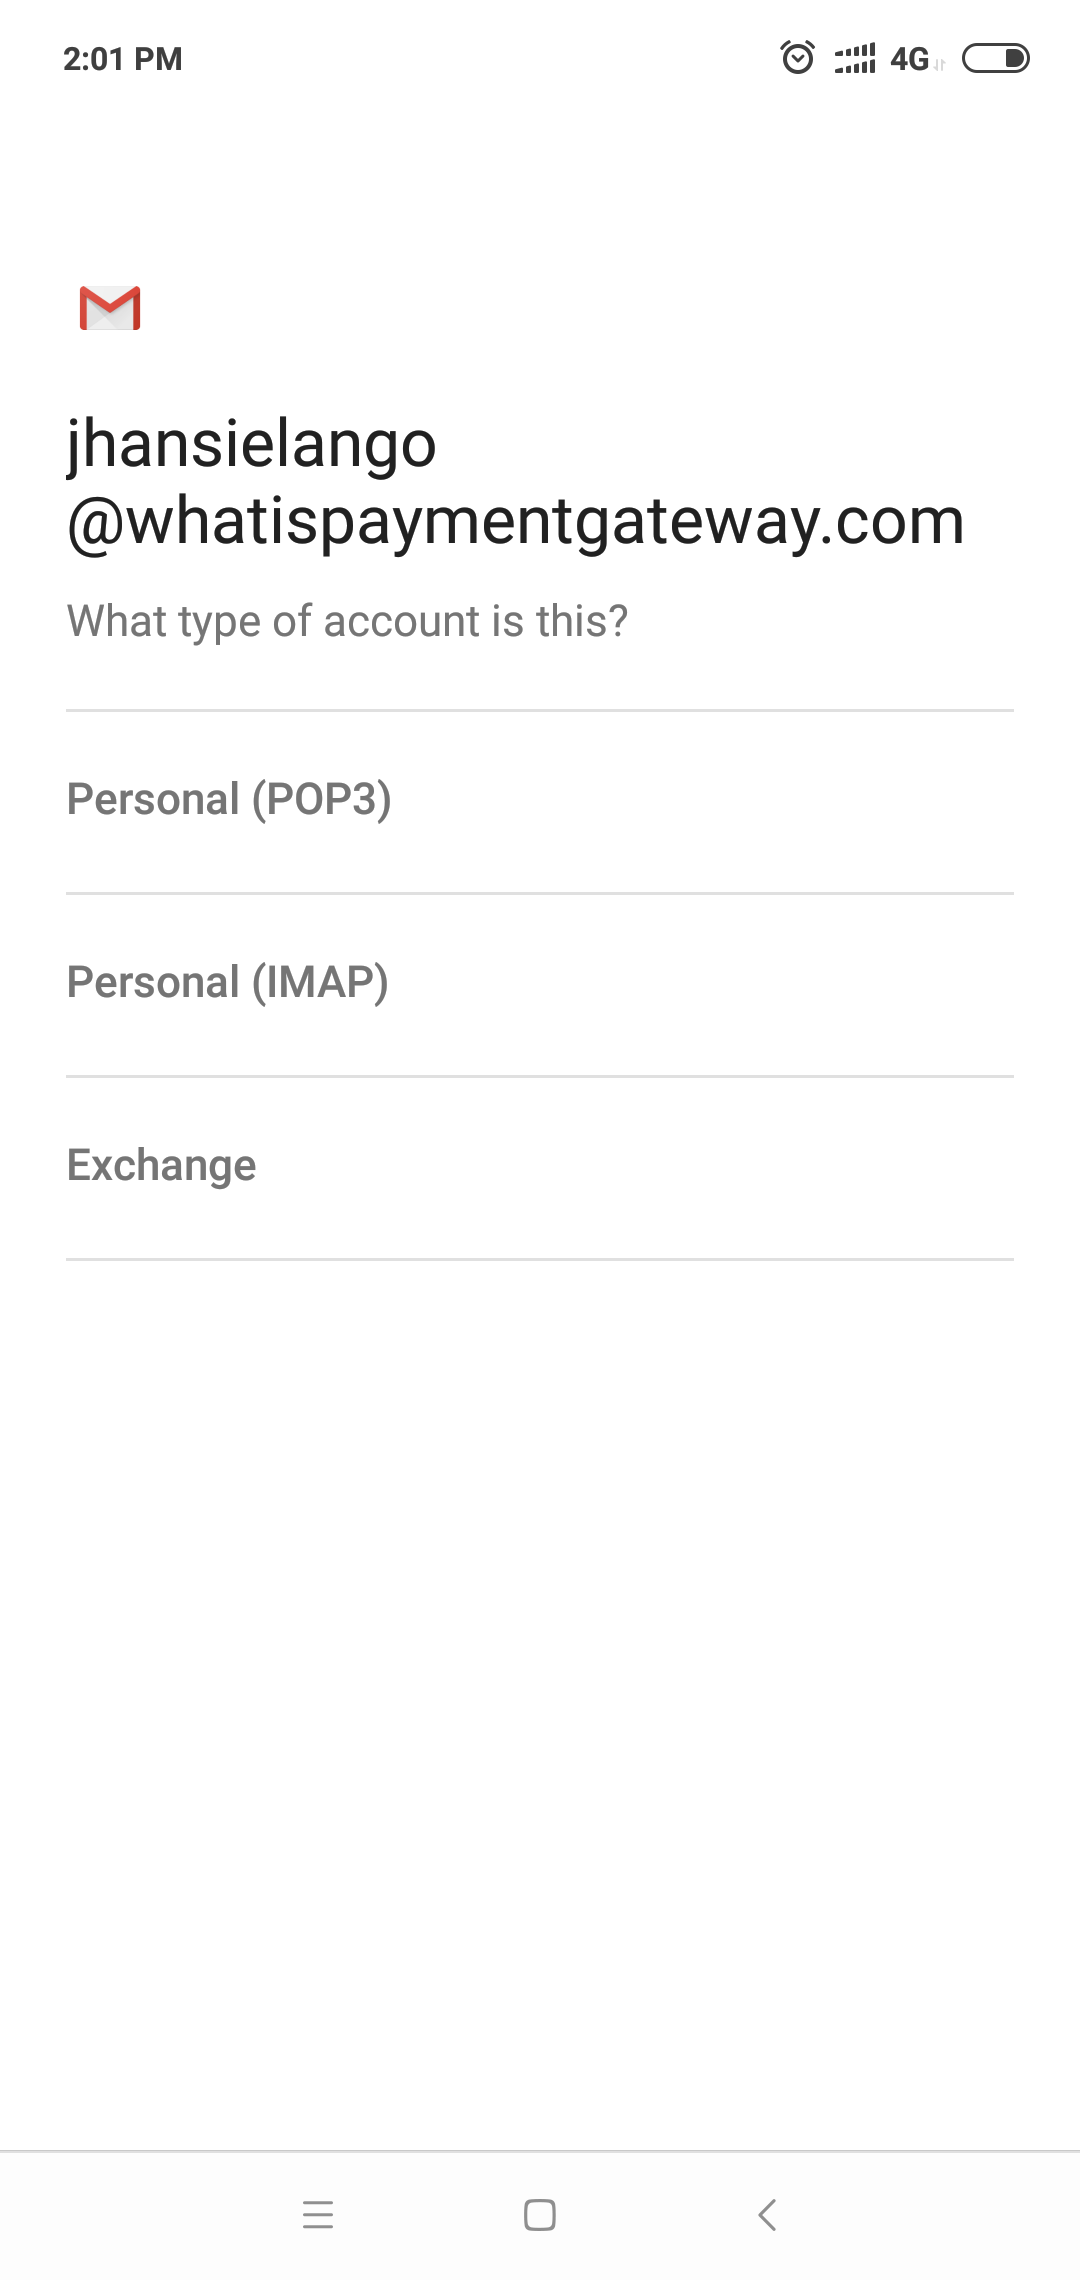
4)  Pick the second option-  Personal (IMAP)

Screenshot_2019-03-12-14-01-43-992_com.google.android.gm.png

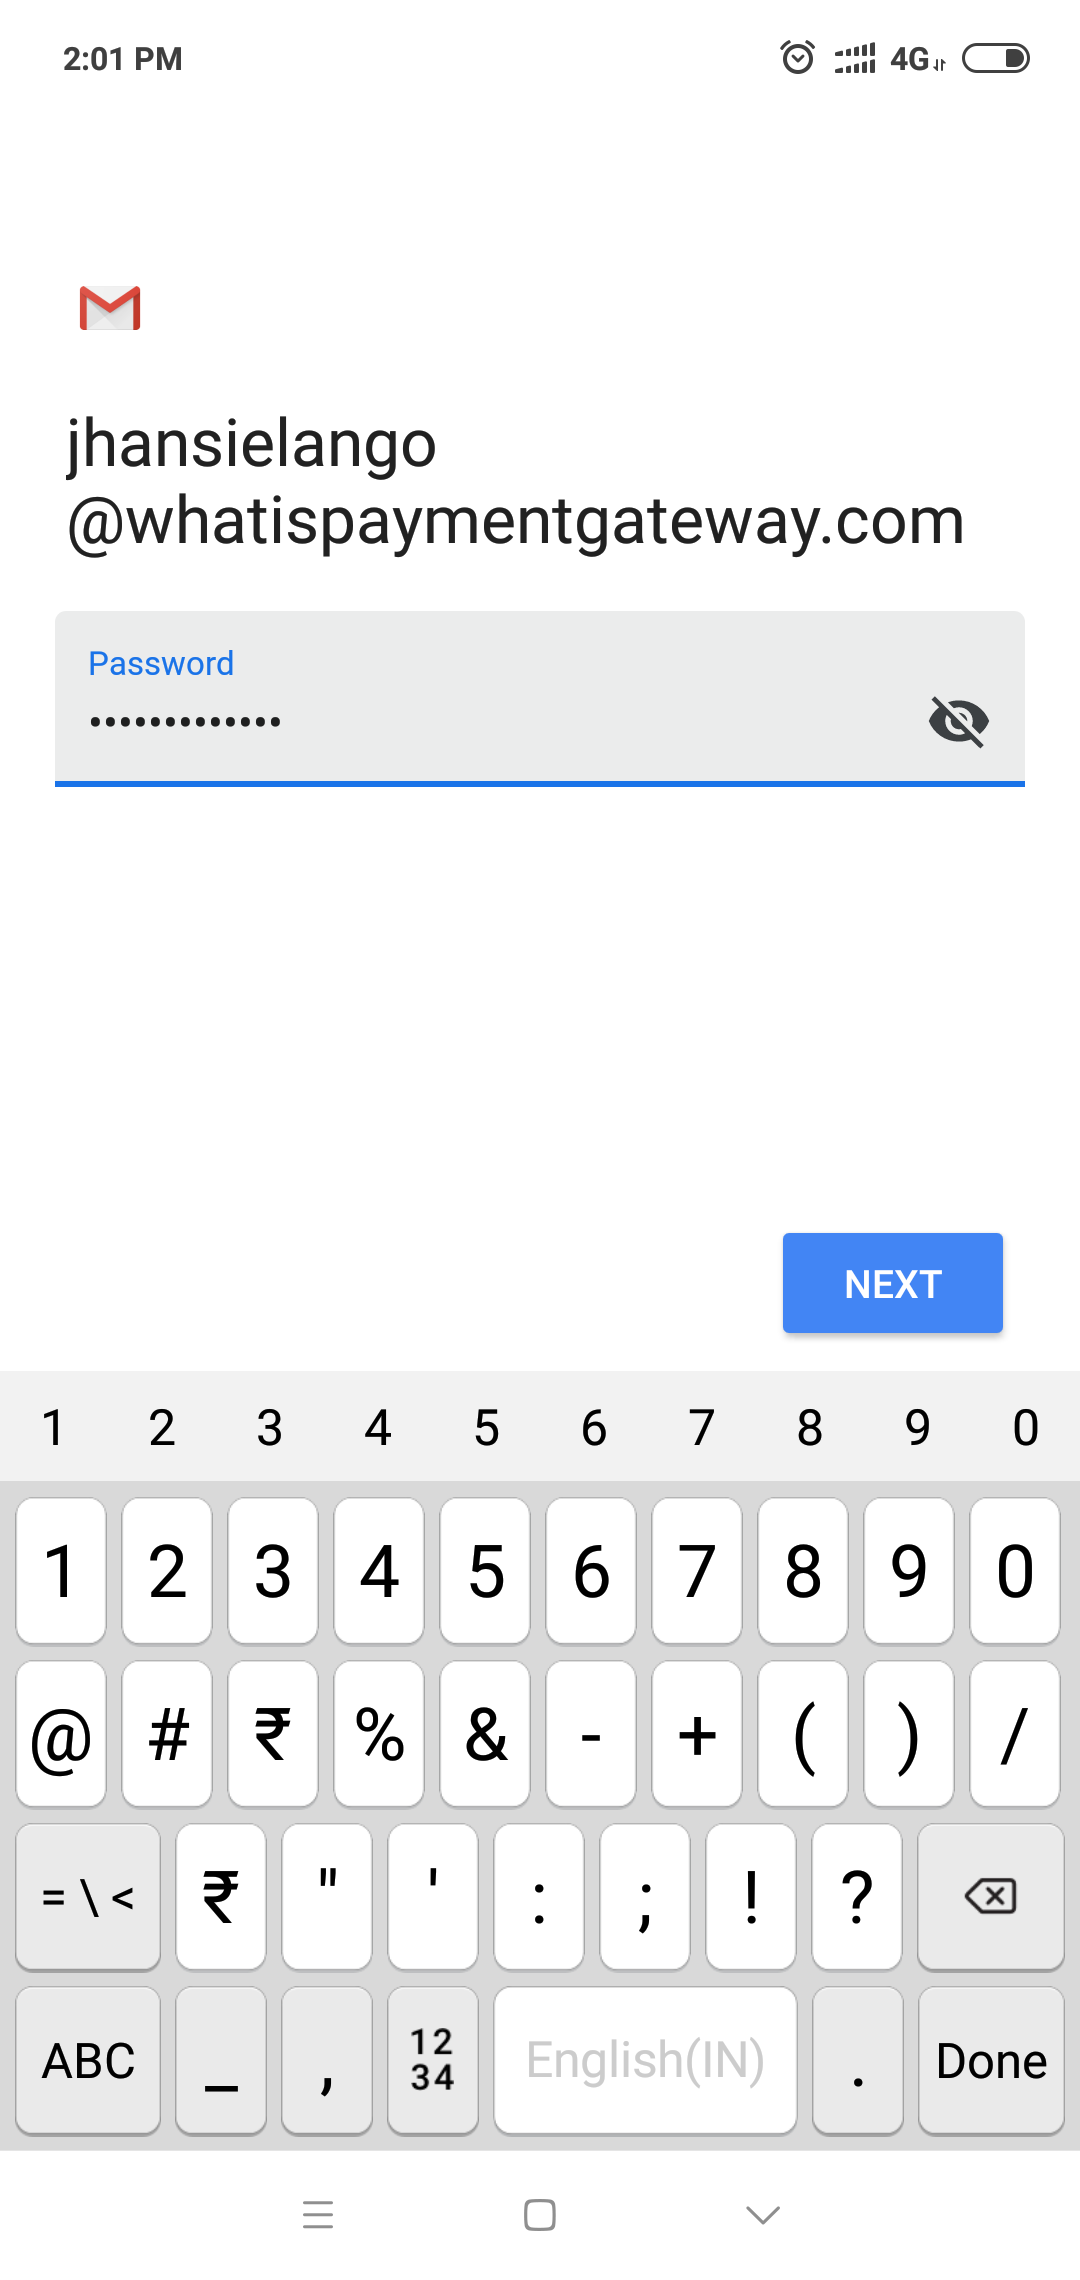
5) Enter your password and click Next 

  Screenshot_2019-03-12-14-01-58-386_com.google.android.gm.png

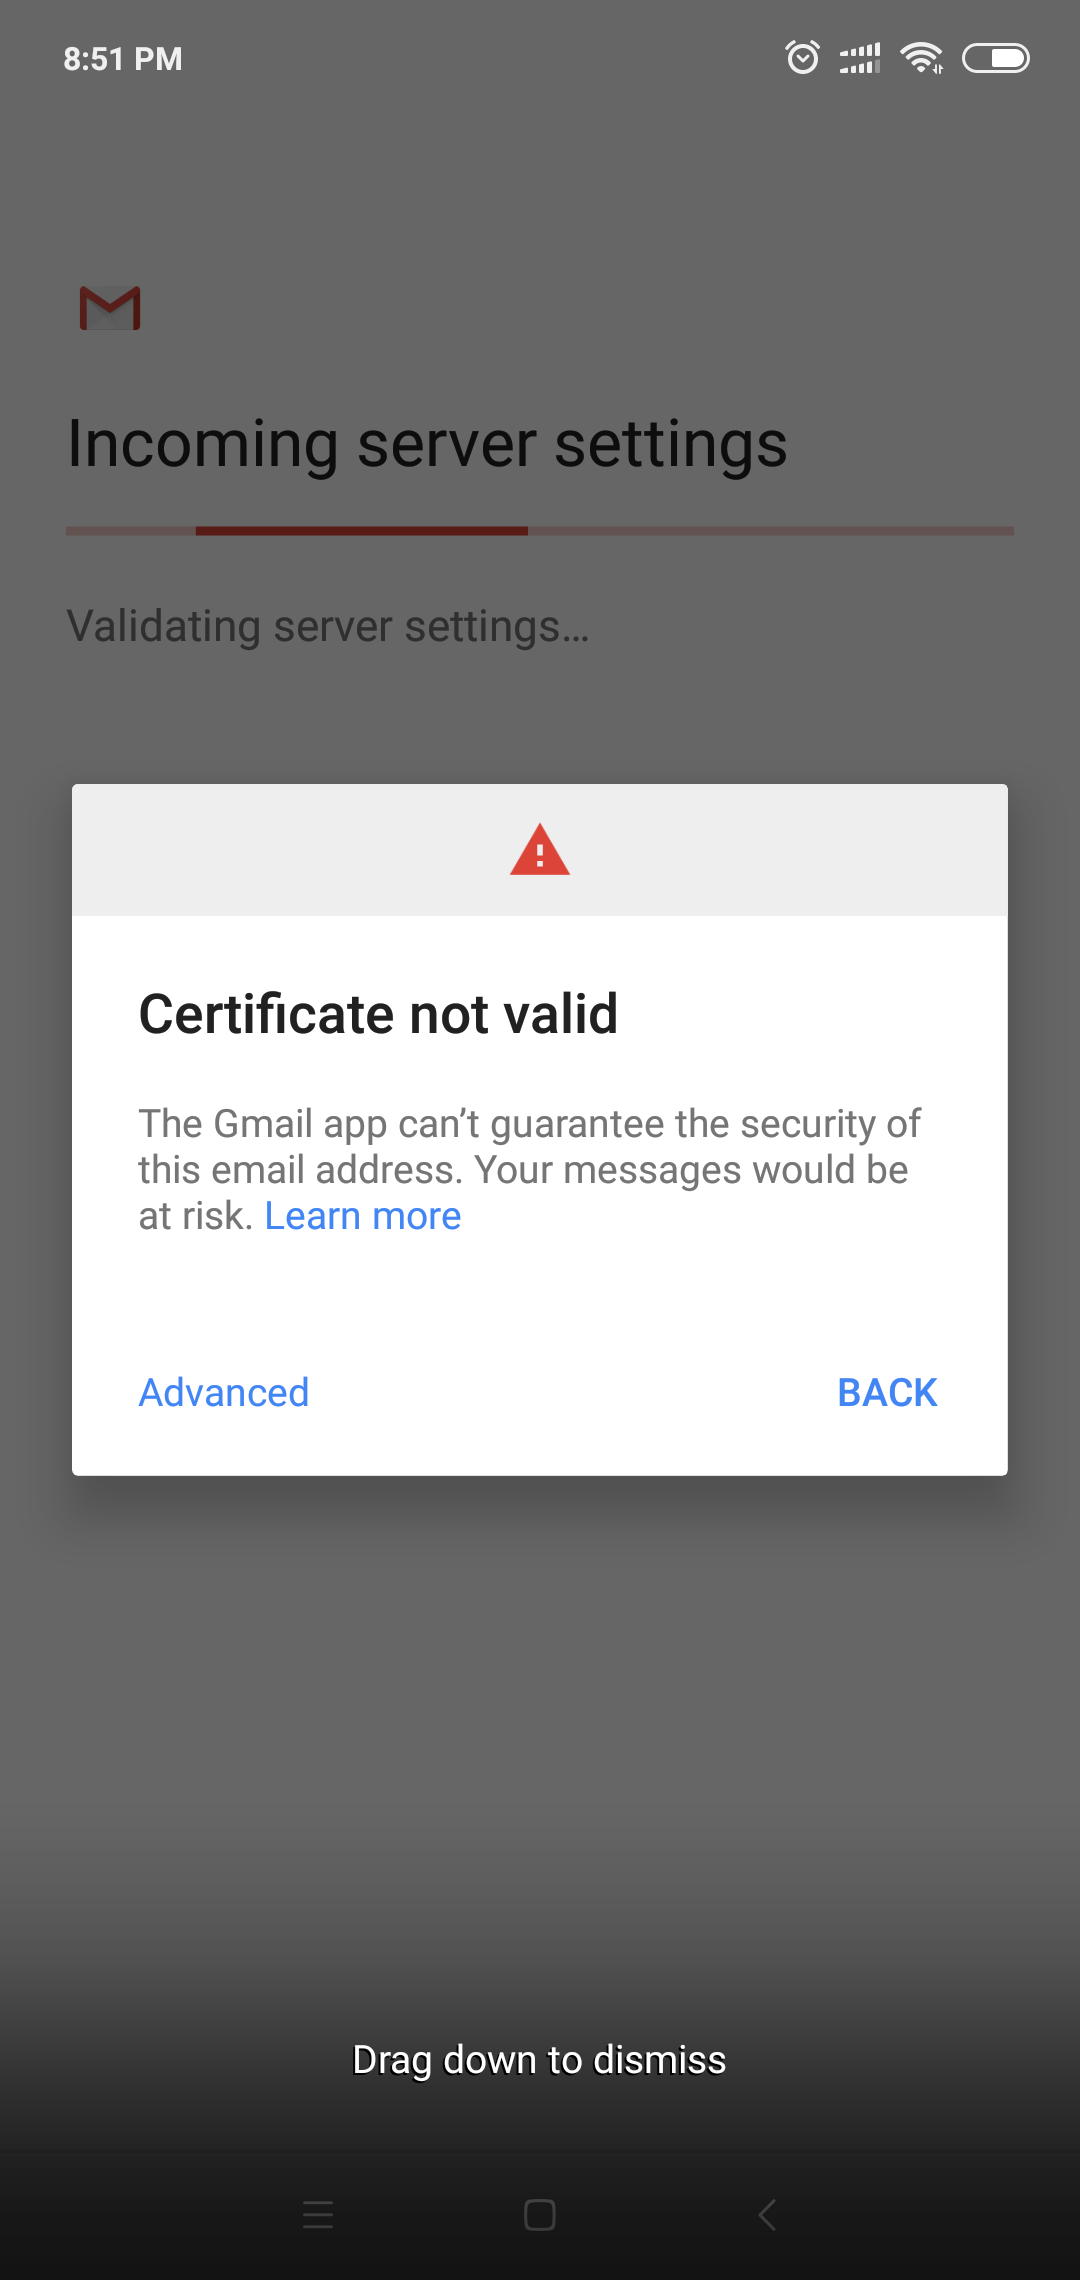
6) Click on 'Advanced' if this popup shows up.

Screenshot_2019-03-13-20-51-40-816_com.google.android.gm.png

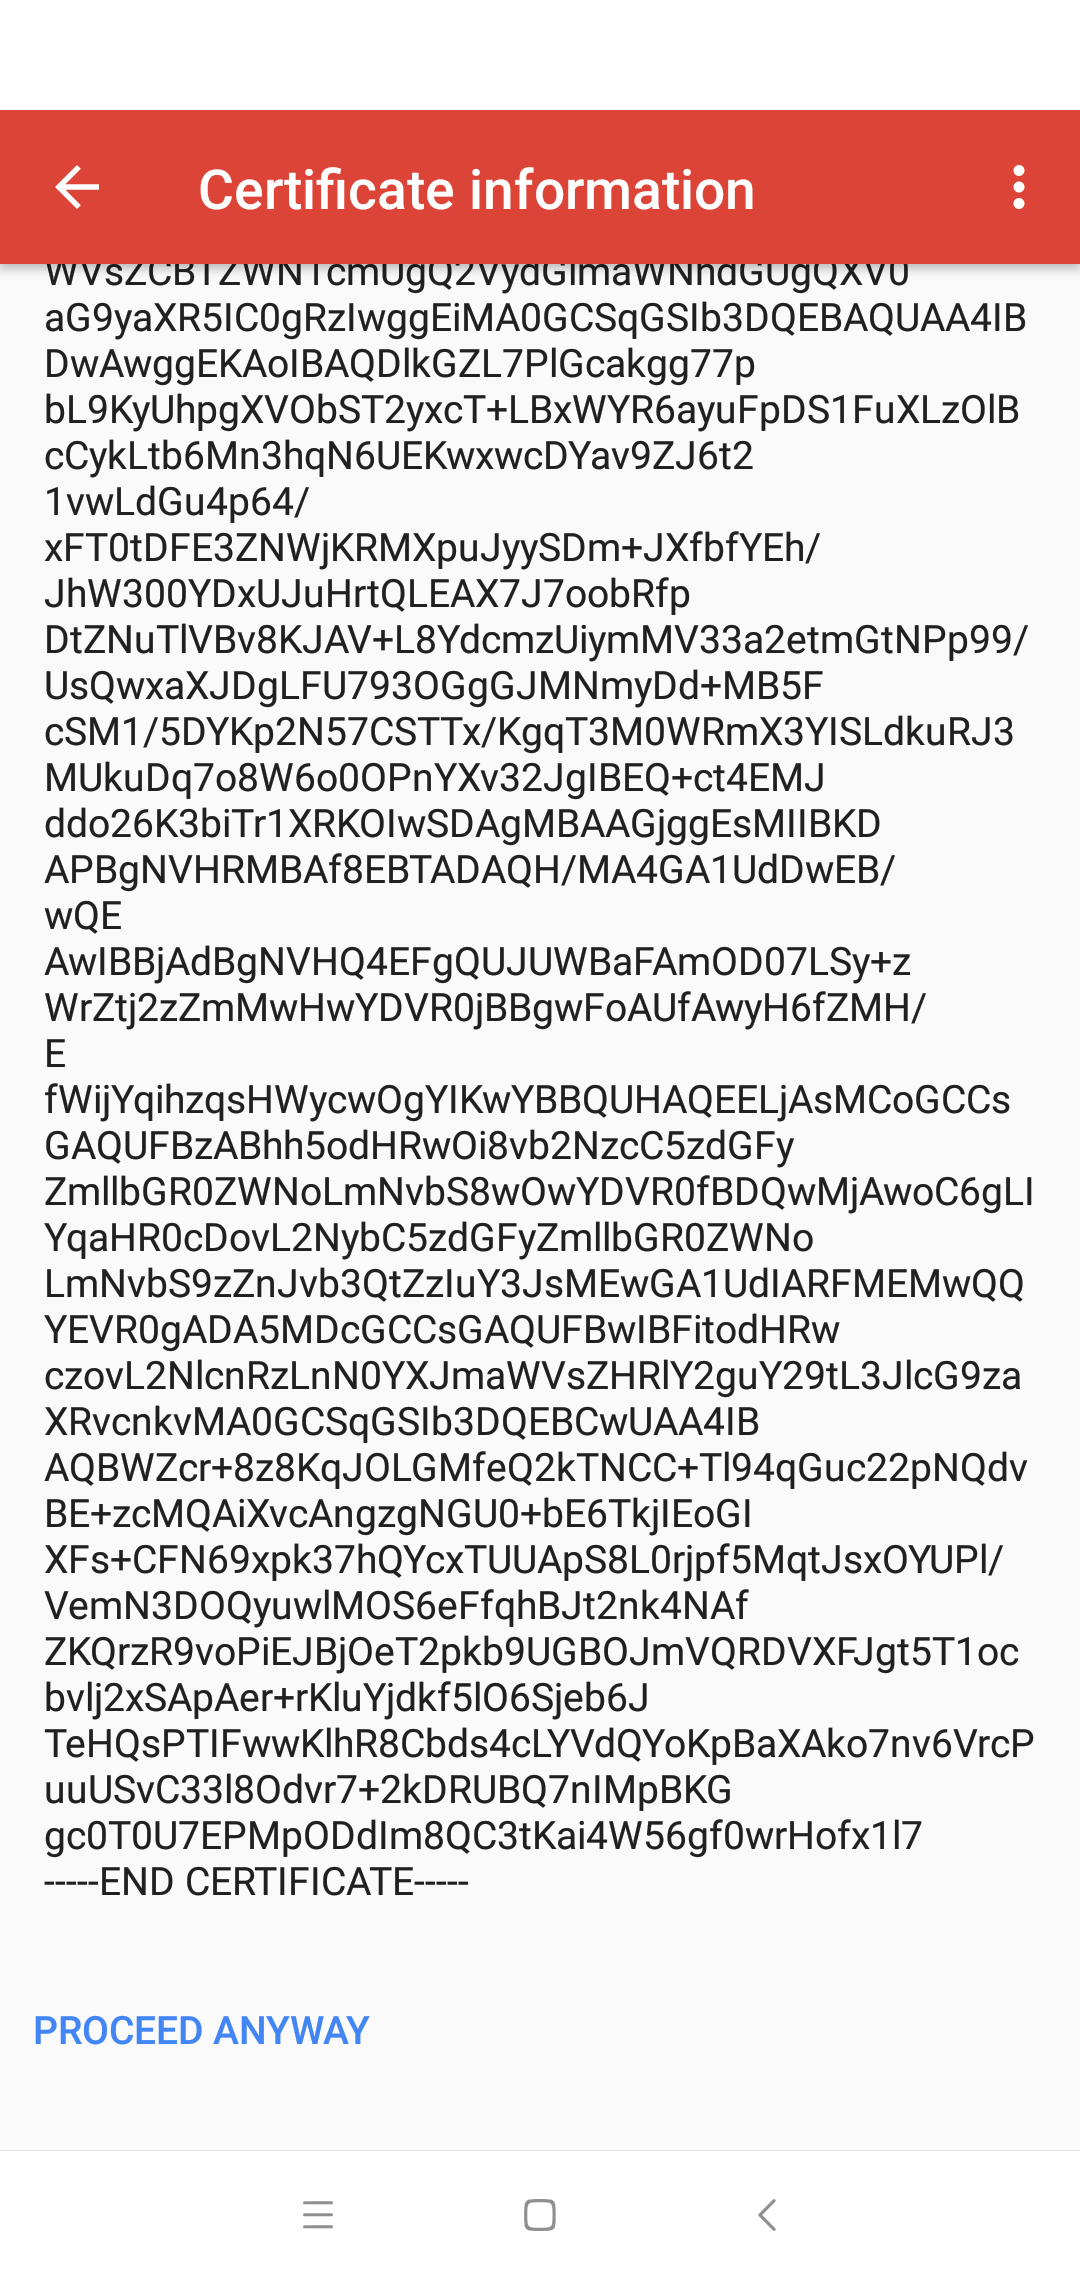
7) Click on 'Proceed Anyway'.

Screenshot_2019-03-12-14-02-25-267_com.google.android.gm.png

8) Set Server as mail.hostedemail.com and Port as 993 and security type as SSL/TLS for the Incoming server settings

Screenshot_2019-03-12-14-03-25-256_com.google.android.gm.png

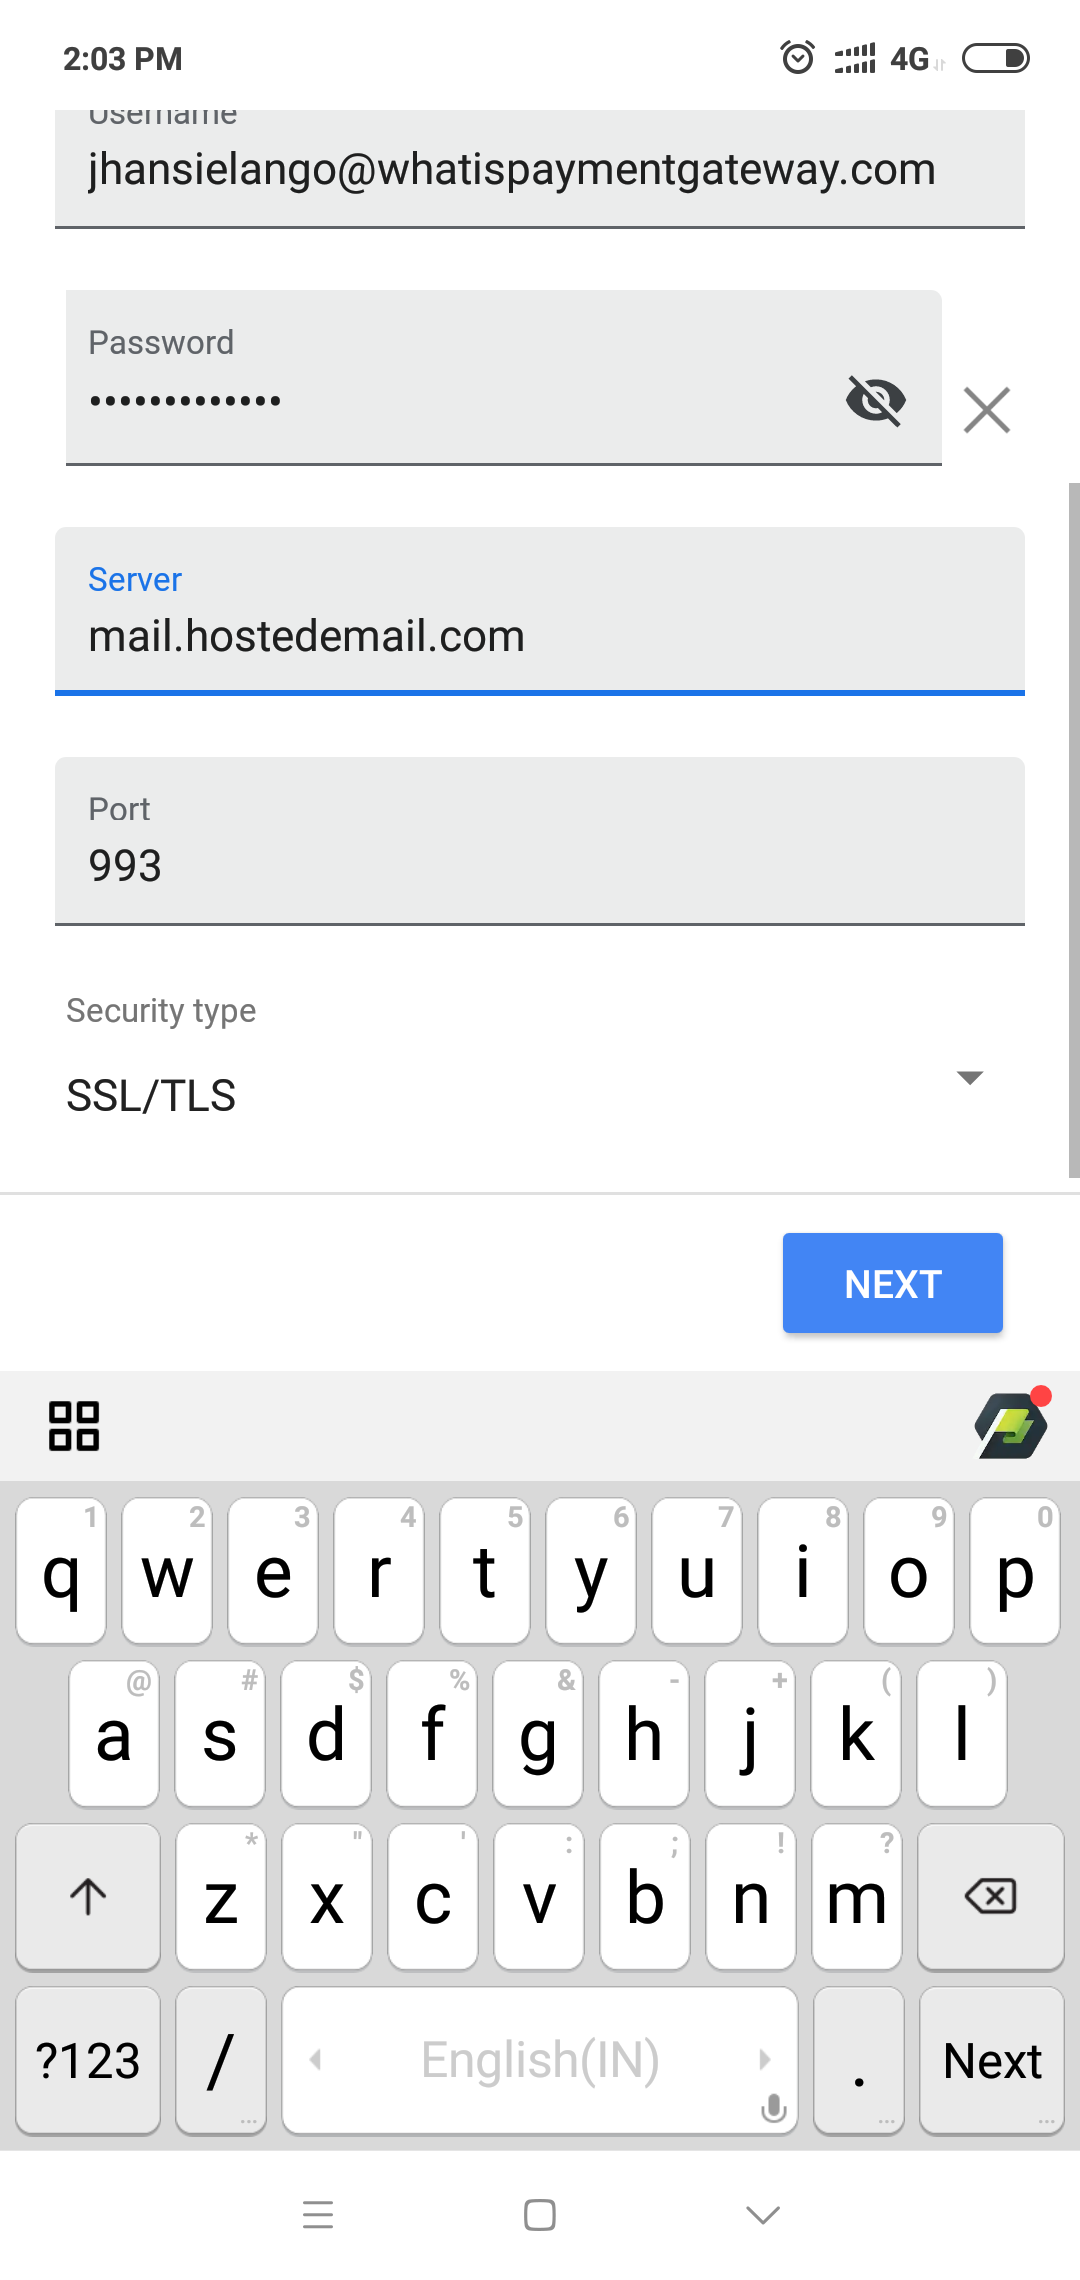
9) Set SMTP Server as mail.hostedemail.com, port as 465 and Security type as SSL/TLS  for the Outgoing Server settings
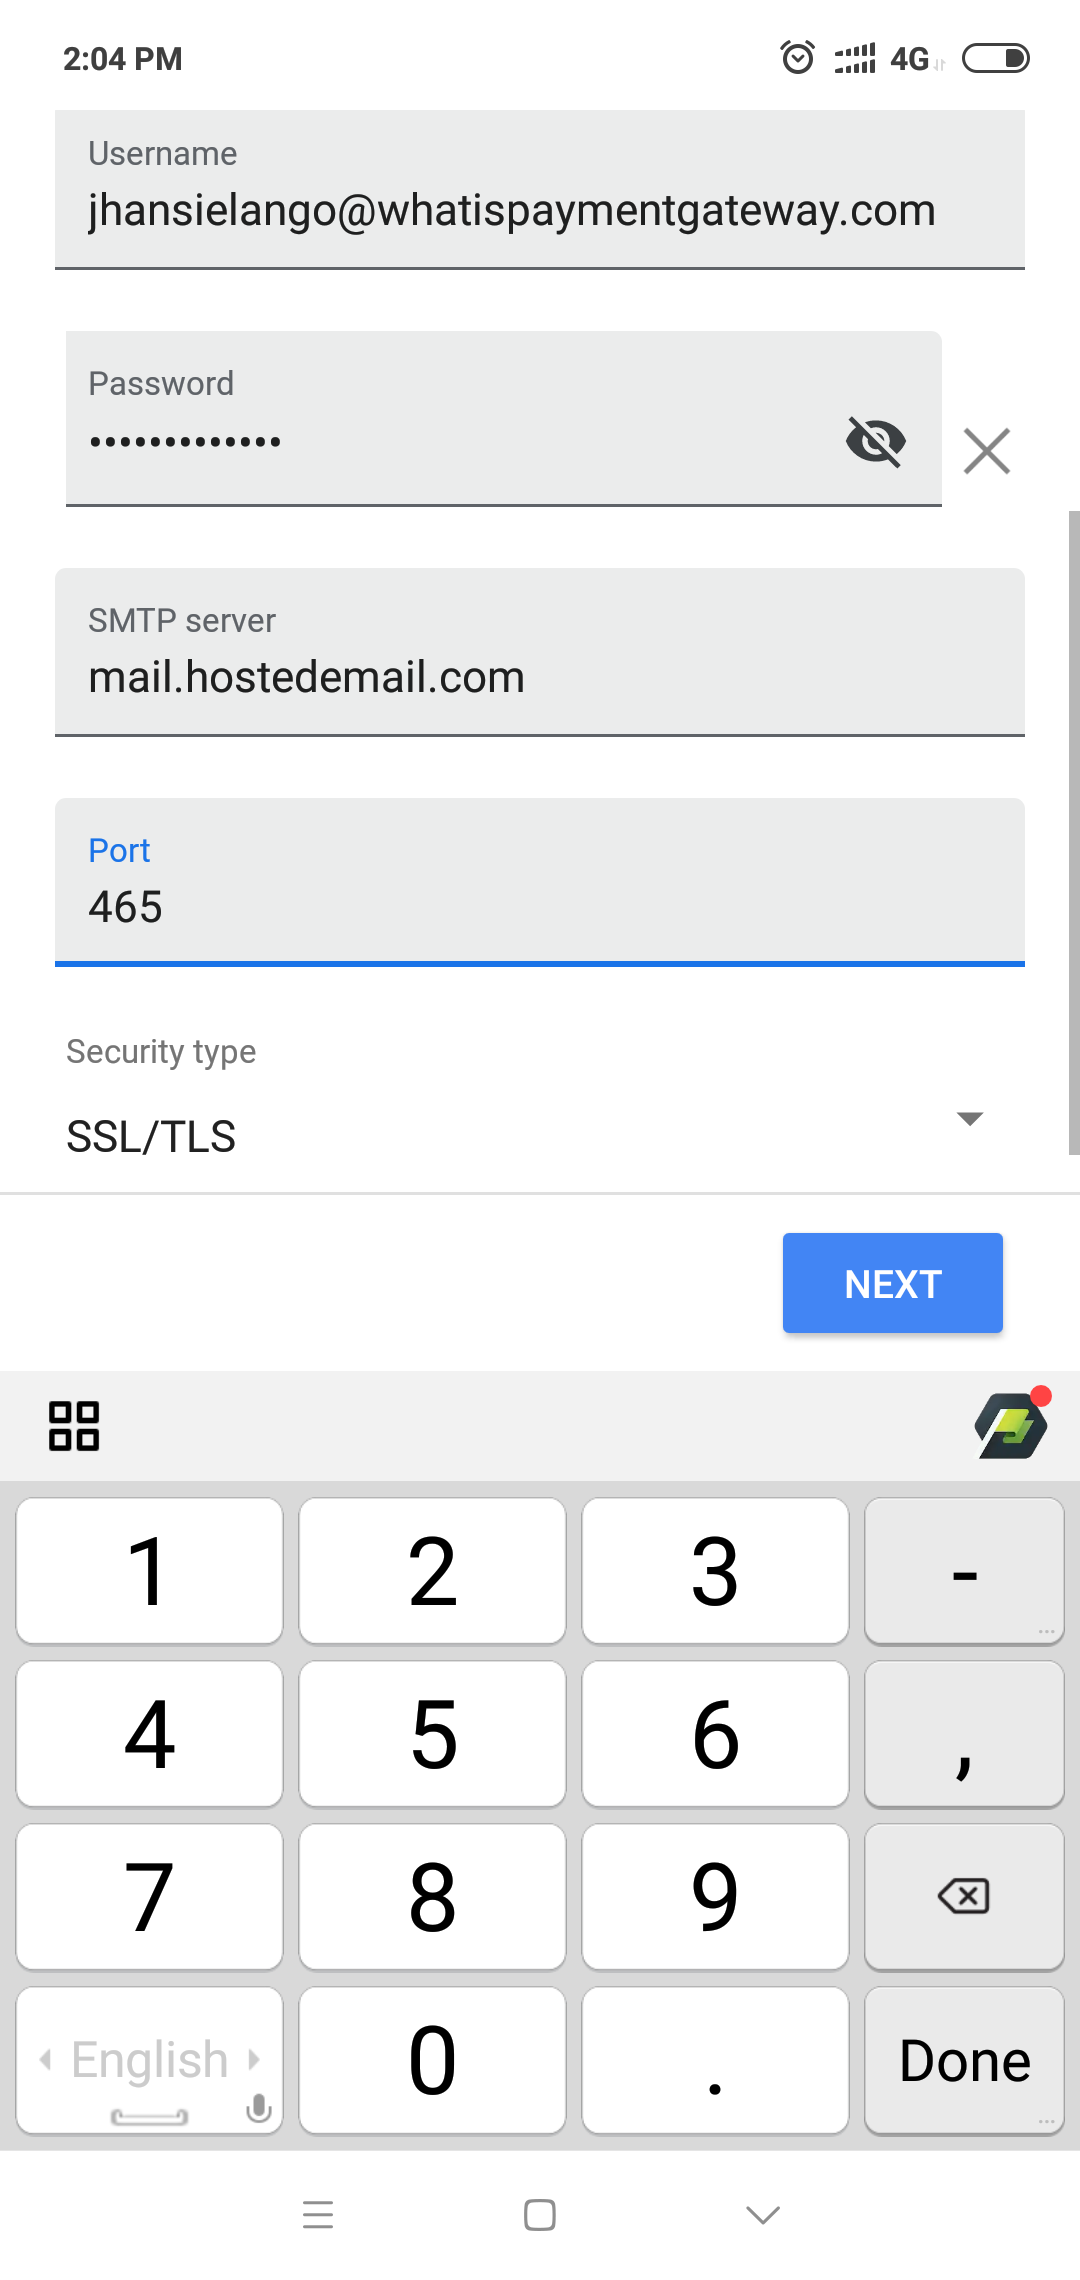
Screenshot_2019-03-12-14-04-17-431_com.google.android.gm.png

10) Click Next

Screenshot_2019-03-13-21-24-22-957_com.google.android.gm__1_.png

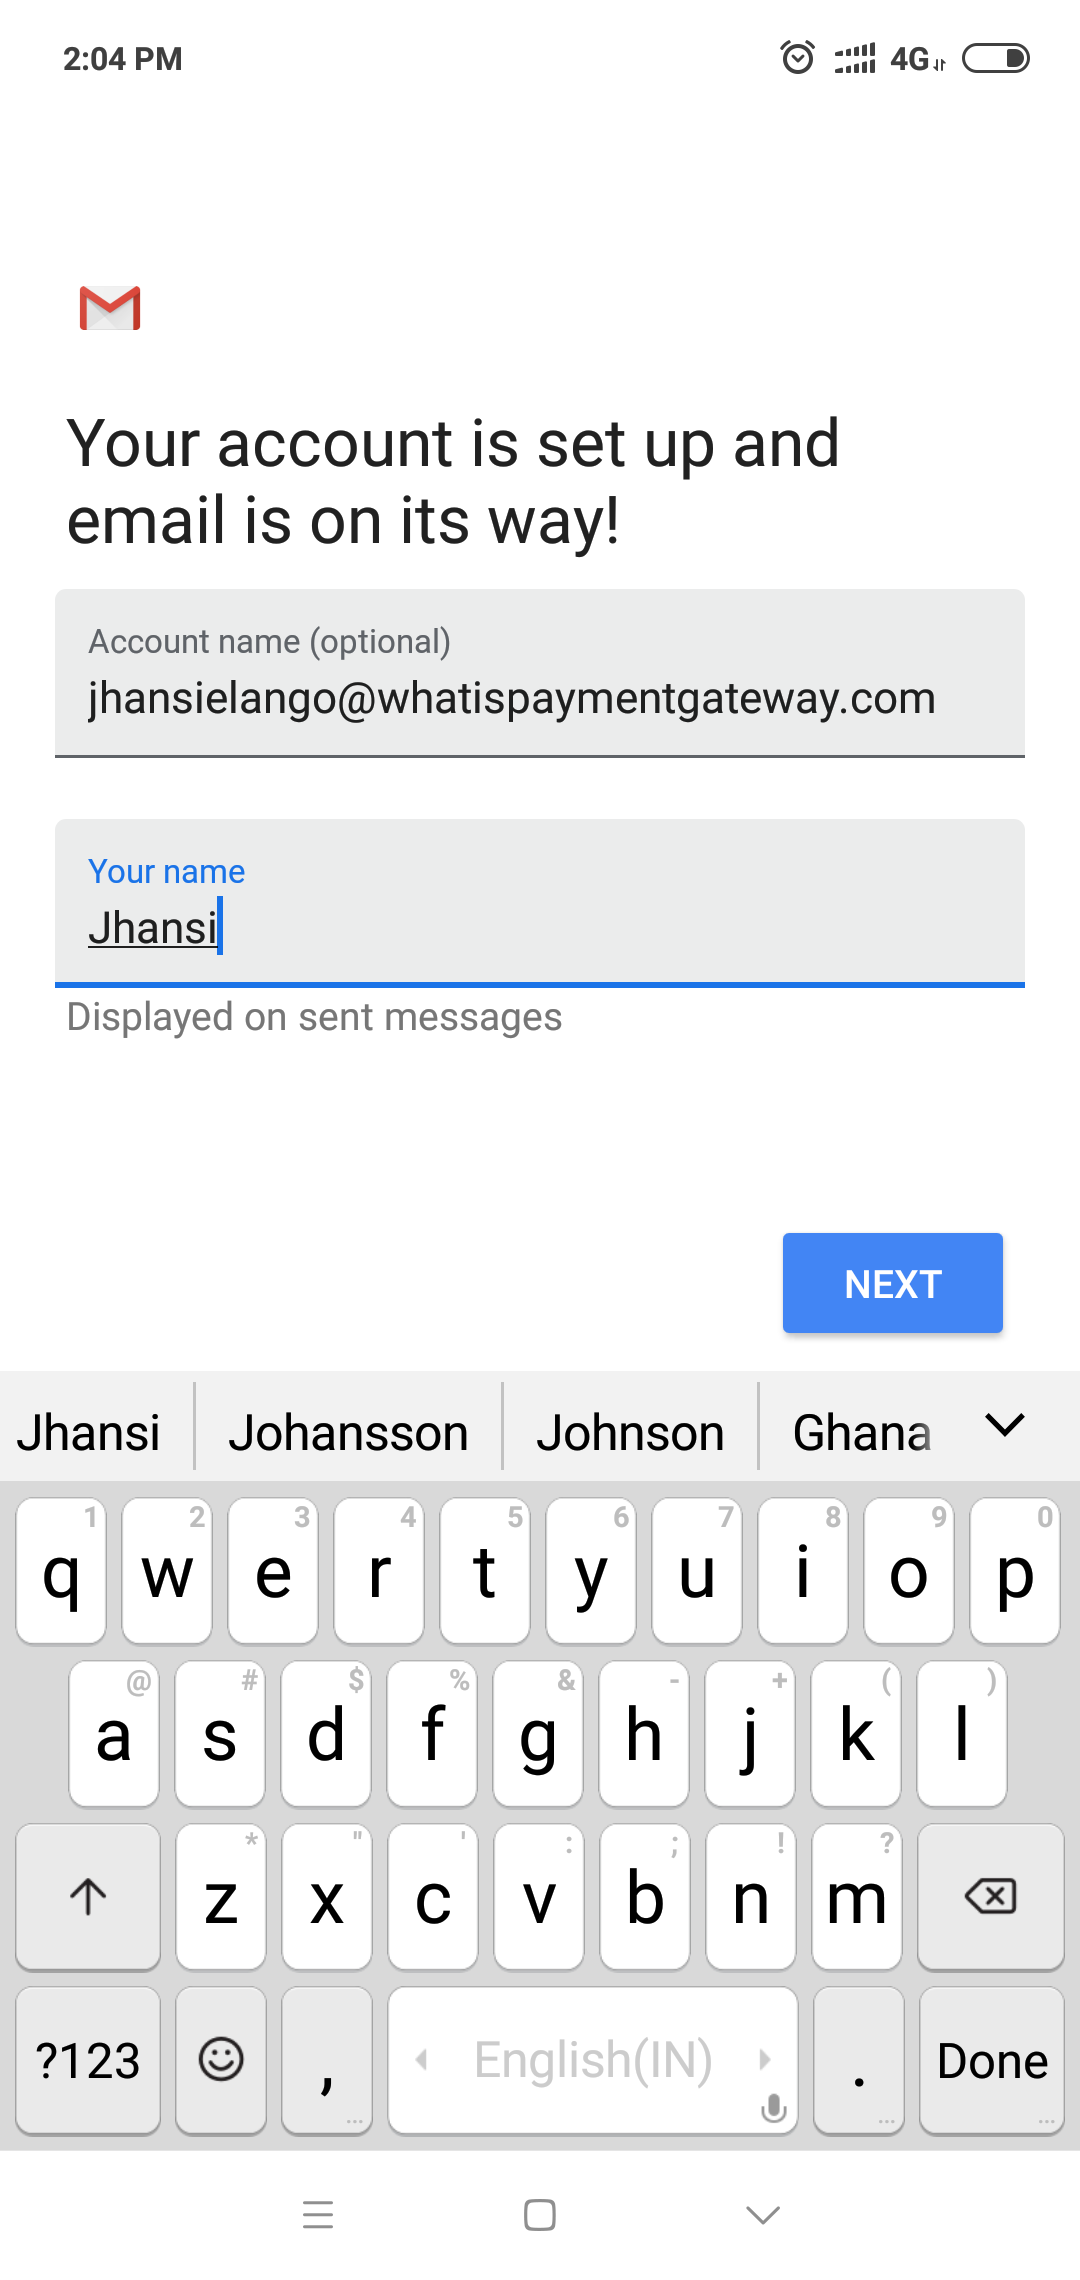
11) Enter your name and click Next.

 Screenshot_2019-03-12-14-04-41-668_com.google.android.gm.png

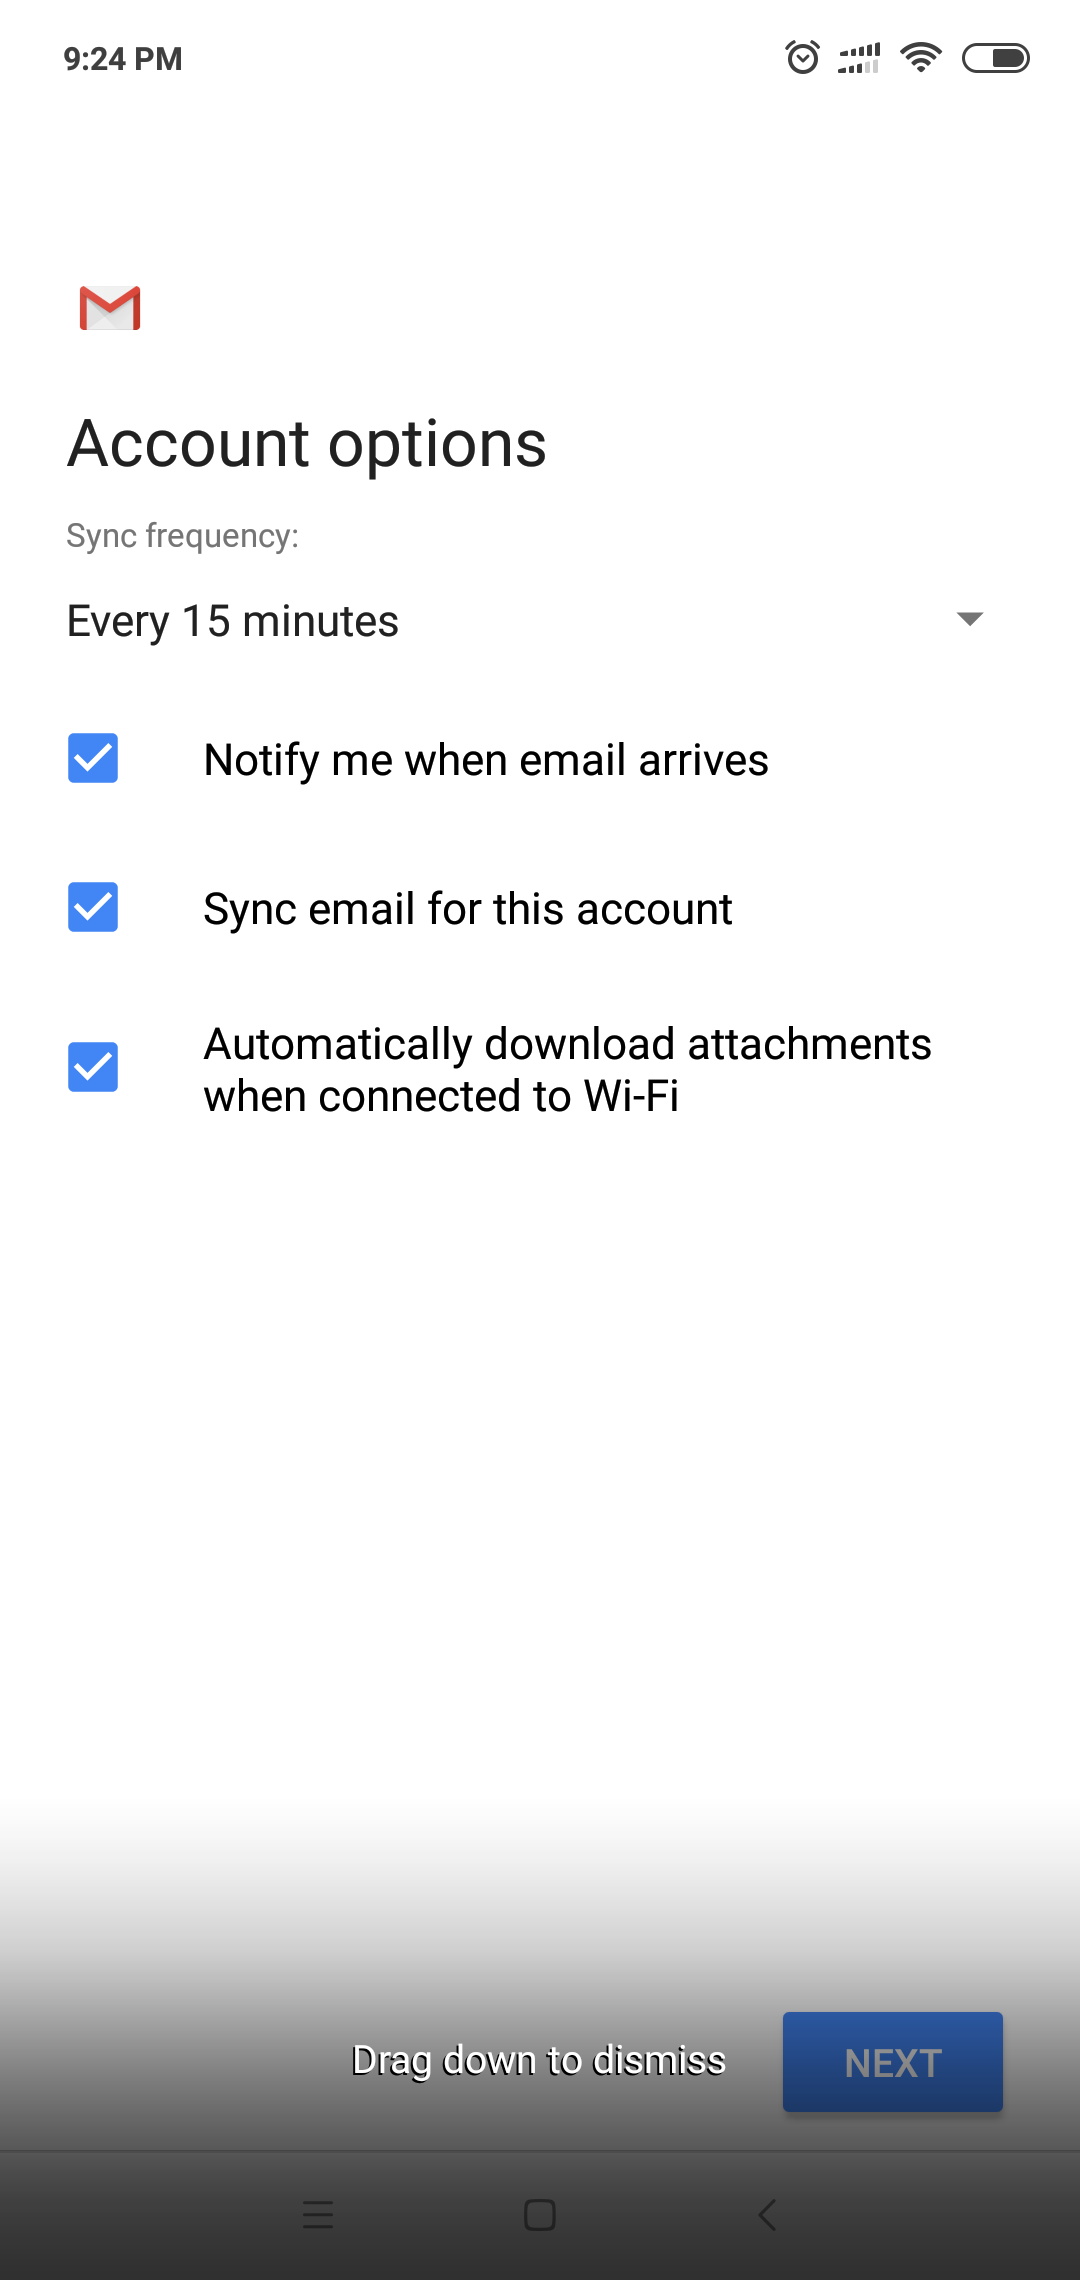
12) Your new business email account is successfully linked to Gmail. 

 Screenshot_2019-03-12-14-04-52-605_com.google.android.gm.png


Start Exploring
Was this article helpful?
4 out of 7 found this helpful
Have more questions? Submit a request