How to create the Other product link? (MojoCommerce)
In this article, we have included a detailed procedure for creating your eCommerce website using Instamojo. This set of articles will help you understand how to add products to your Instamojo online store..
This article mainly covers the addition of other products that you can sell online. The first step to this is to create the product link and this is an easy step:
- Just log in to your Instamojo Dashboard and on the top left corner of your Dashboard, click on "Create New", which will lead you to the following pop-up:
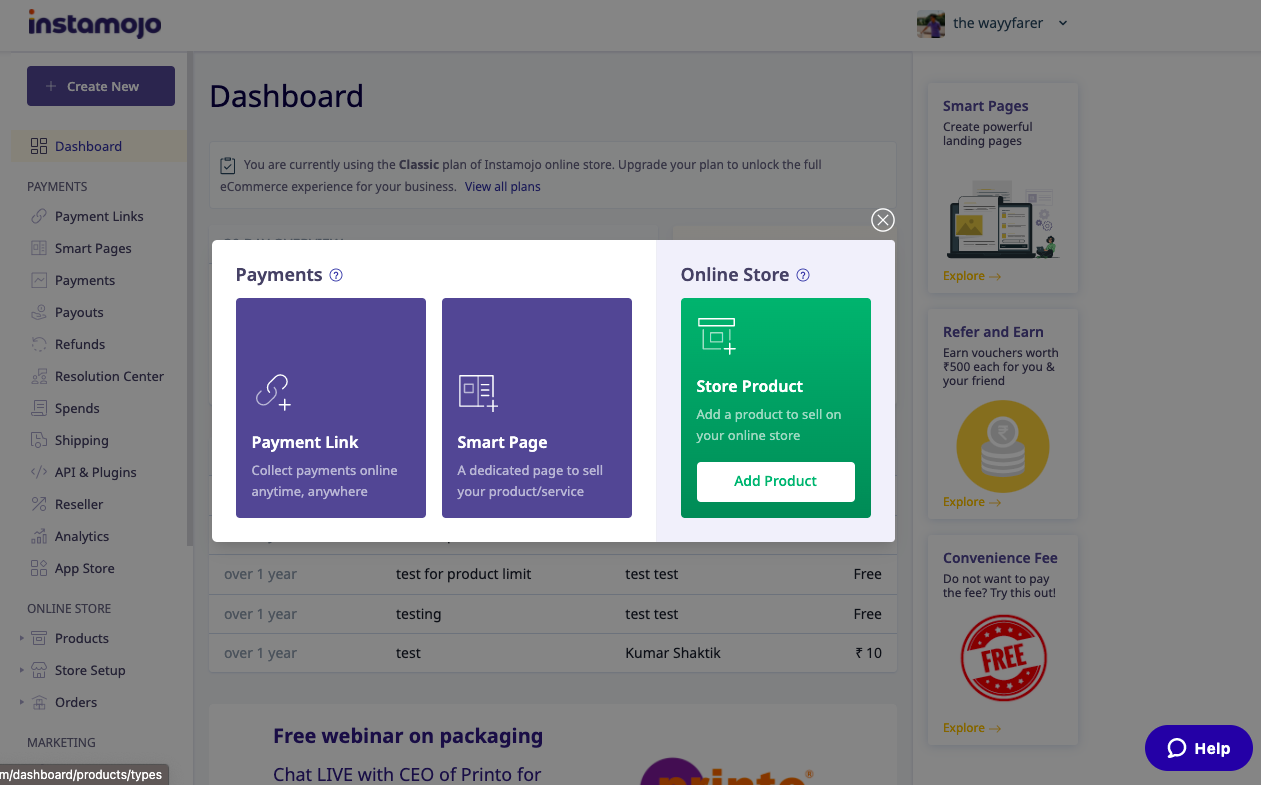
- Now, click on "Add Product", which will give you the following options on the next page:
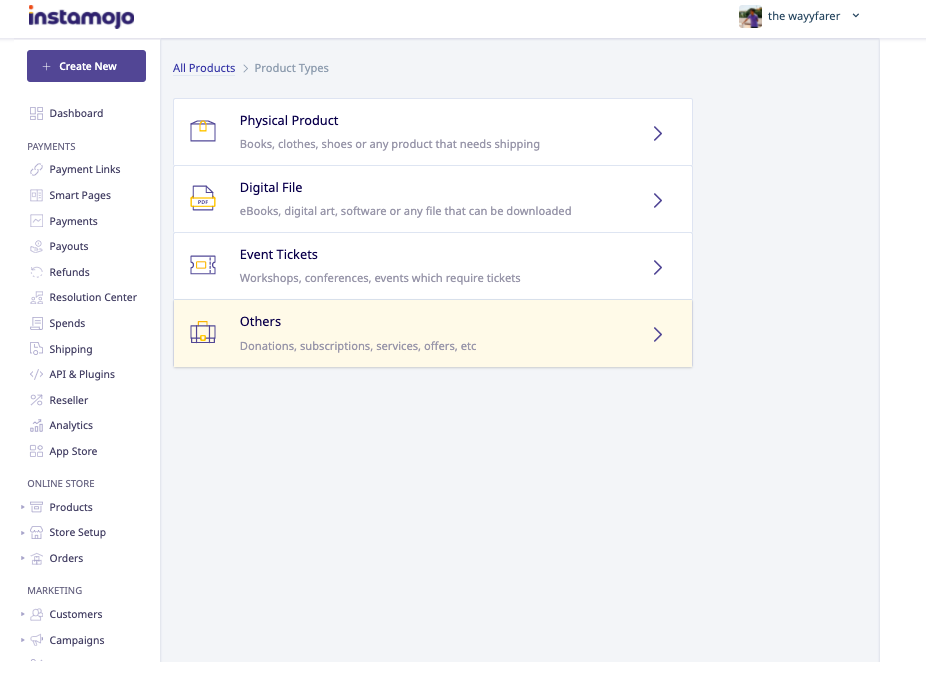
- Here are the product features that you can include while creating your others product link:
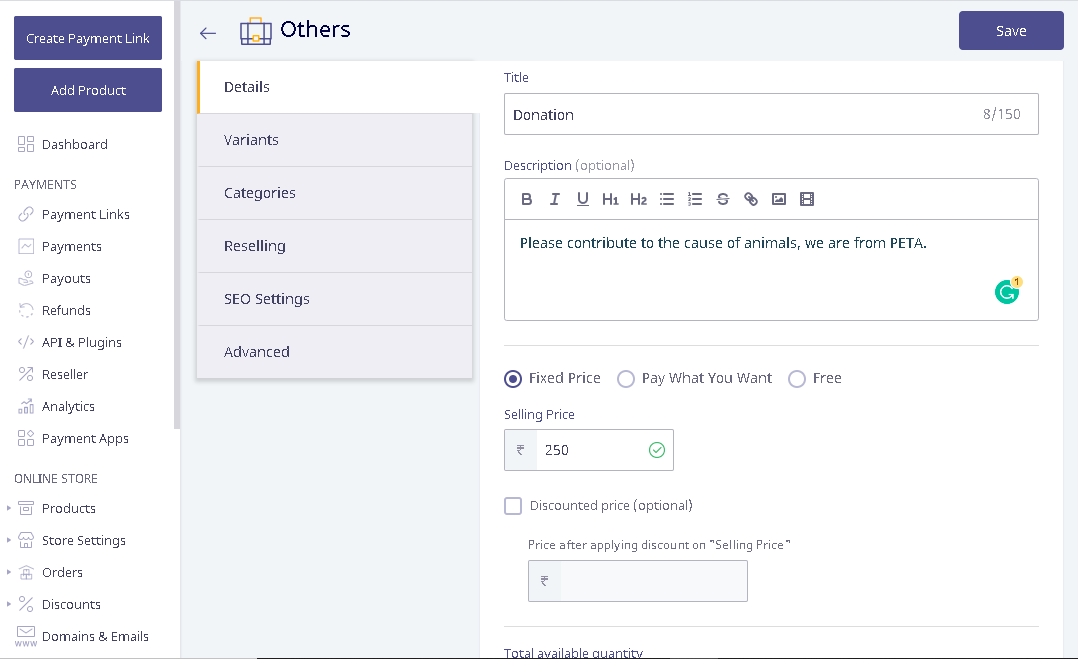
Details:
Images: Upload images of your product. You can upload up to 10 images for the Premium online store.
Title: Your product title.
Description: Detailed description of the product covering its features and other information you would want your customer to know. Read our blog on How to write product descriptions for your eCommerce store.
Selling Price: The base price of your service.
Discounted price: The discounted price of the Service.
Total available Quantity: Enter the number of products you have in stock.
Limit quantity per order:
Minimum order quantity: It refers to the minimum number of purchases that a customer can make at a time.
Maximum order quantity: It refers to the maximum number of purchases that a customer can make at a time.
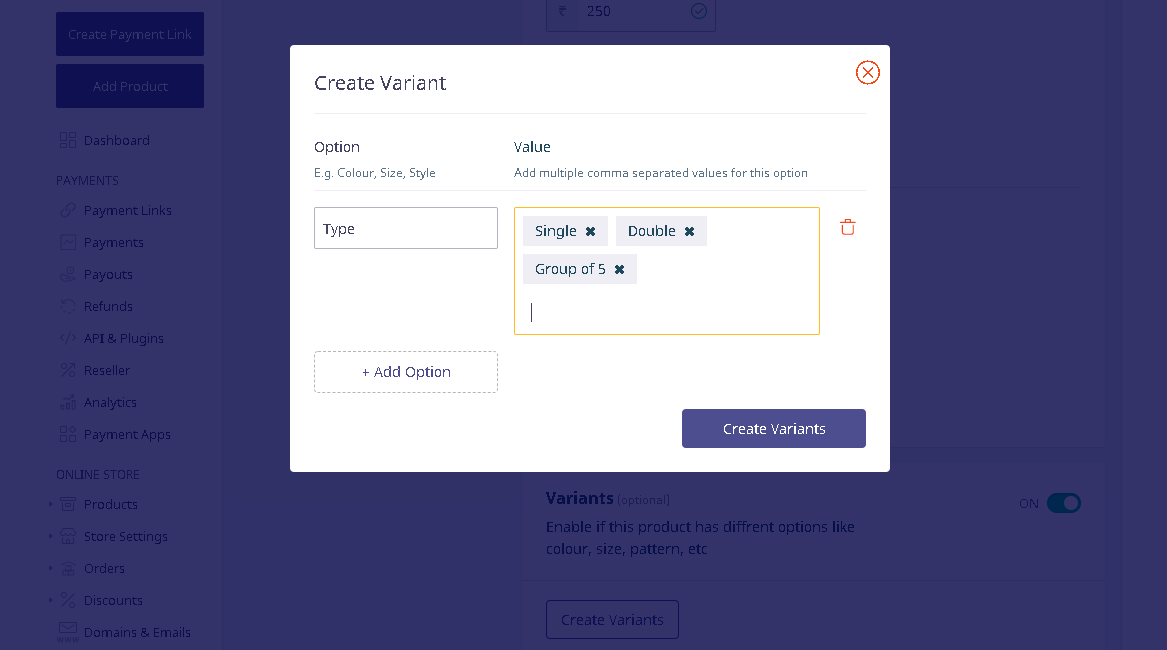
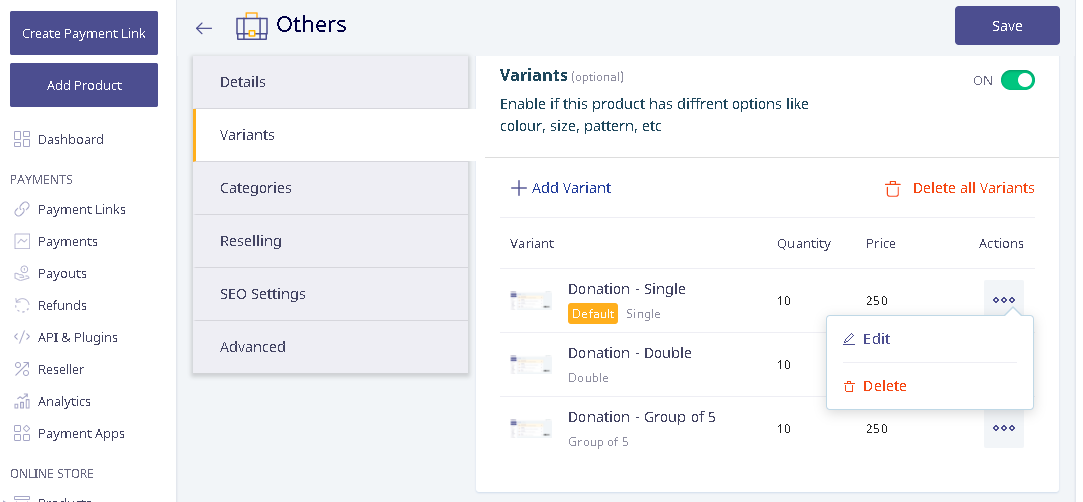
Variants:
If your services come in different prices/features/facilities, you can make use of the Variants option. Here you will be able to create different variants for your Service based on your requirement.
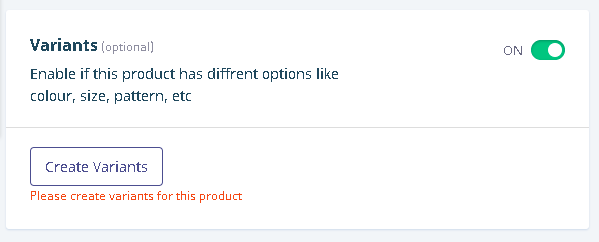
Add variants: Turn the toggle ON under variants, add a variant and add possible options available for the variants. For example, a color variant can have options like blue, green, white, etc. Similarly, you can add variants for size, fabric, etc.
Edit the prices for Variants: You can edit the prices for individual variants by clicking on "Edit" and updating the selling price for that particular variant.
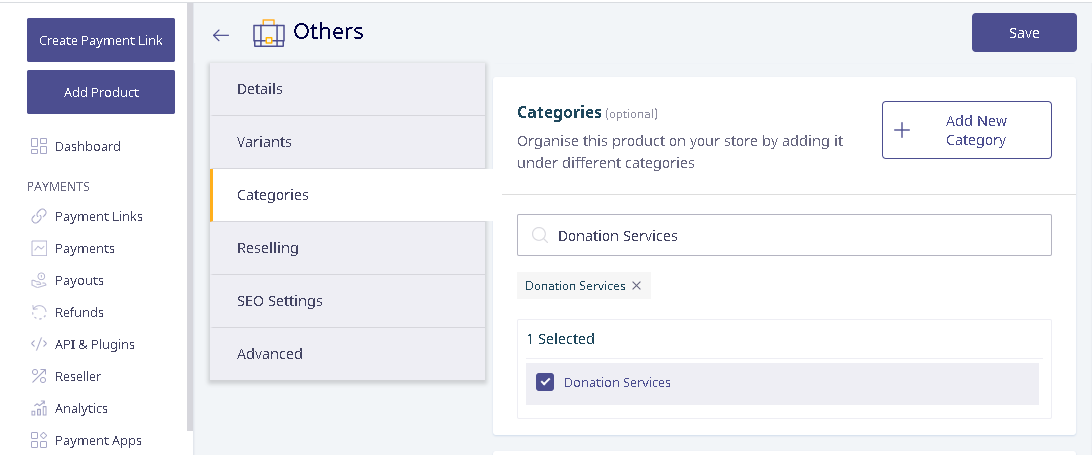
Categories:
Choose the category under which your Service falls. (Before you choose a category, you will need to create categories for your eCommerce website).
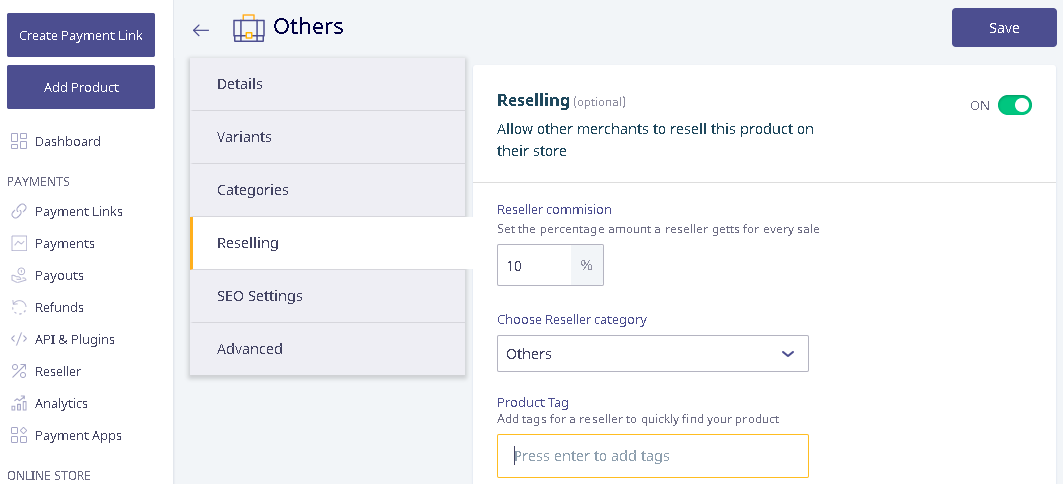
Reselling:
Allow other Instamojo merchants to resell this product in their online stores.
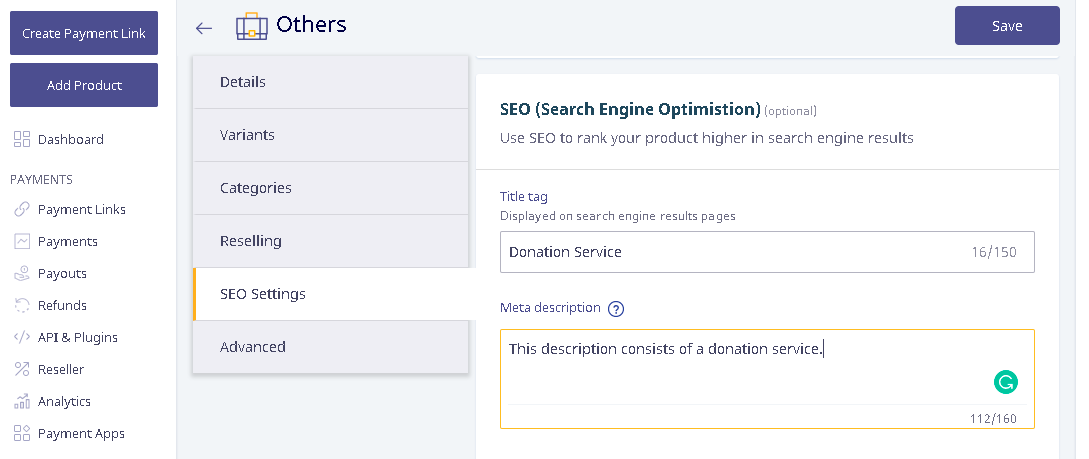
SEO Settings
In case you want to control the way search engines (SEO) handle this SEO for product link, you can enter the settings.
Advanced
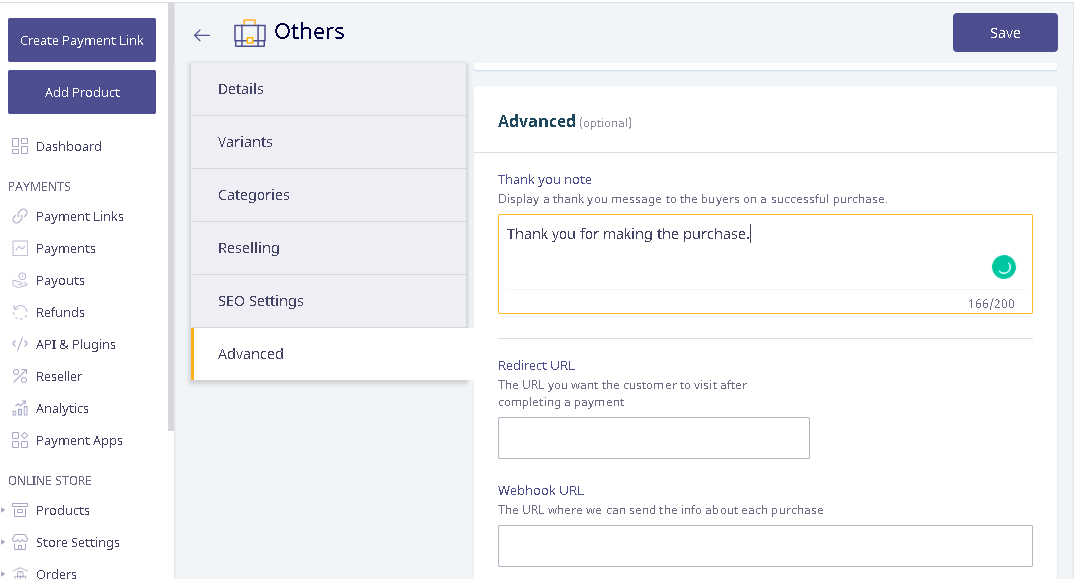
Custom thank you note: A note to your customers shows a message to your customers in the email purchase receipt.
Redirection URL: This is the URL customers are redirected to after they make a successful payment. If you have a landing page where you would like your customers to come to after they have made the payment, use this box to enter that page URL.
Webhook URL: The webhook URL is the URL where we can send the info about each purchase to you. You can read more about what is a webhook.
Finally, click on Save and this will take you to your newly created product link. You can share this link with your customers or in your social circle to increase traffic on the same. This also appears as a product card on your online store.